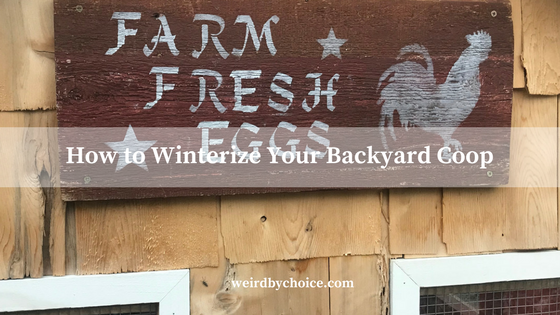
Cooler temperatures and changing leaves mean that Winter is right around the corner – at least in Minnesota. That means the days of your chickens foraging in the run, pecking delightedly at bugs and soaking up sunlight, are severely numbered. (Boo.) Before the temperatures plummet, it’s a great time to get your backyard coop ready for winter. Here are some steps to ensure your coop is ready before the snow flies.
REPLACE ALL SHAVINGS AND BEDDING MATERIAL
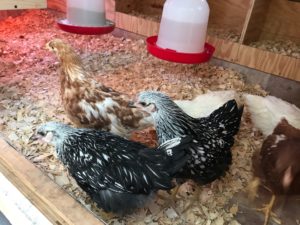
Whether you use pine shavings like we do, hay, or some other bedding material, this is a great time to scrape out all the old and fill your coop with fresh, new material. It’s a LONG winter, and you’re probably not going to be changing this out again until the Spring, so be generous with the amount you put in. In addition to keeping a cleaner space, this material can also provide some extra coziness on those chilly days.
CLEAN. CLEAN. CLEAN.
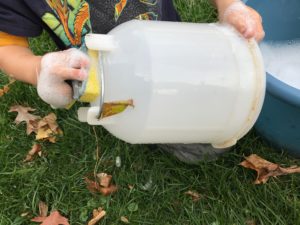
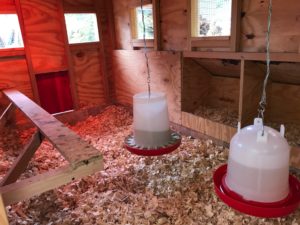
The dirtiest area in your whole coop is probably around the roost, so take the time and elbow grease to clean the perch and surrounding areas as best as you can. An abrasive sponge, blade, or sometimes even just the edge of a shovel can work as a great scraper. Make sure your feeder and waterer also get a good, thorough cleaning. This is a great way to involve the younger farmers in your house. (I gave my six-year-old a bucket of soapy water and a sponge and he was in his glory helping momma.)
SEAL THE WINDOWS
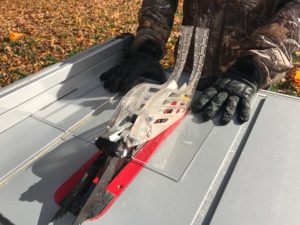
Our coop is built with hardware cloth across it’s windows, which is great in warmer weather, but obviously won’t fly for colder months. We cut plexiglass to fit each opening and inserted from the inside of the coop. Simple 2×2 strips screwed partially in will hold the plexiglass securely and be easily removed in the Spring.
Note: For air quality, we left the 2-inch gap under our roofline open to allow clean air flow without creating any possibly dangerous drafts.
SECURE LIGHTING (LIKE REALLY REALLY WELL)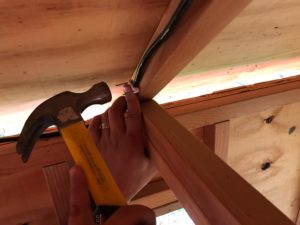
I have read many articles saying you should NOT have heat lights in your coop as they can fall and cause fires (one of my all time greatest fears…don’t get me started). That said, our girls are not yet fully grown, so I felt it was necessary to still provide them with a bit more heat than their bodies and feathers may provide. We clipped our heat light to ceiling trusses and carefully strung the cord up the beams and out the gap in the roofline. We took extra precautions to secure the cords with multiple u-shaped wire staples nailed into the coop frame. I’m hoping the light will not only keep them warm, but help provide some extra artificial daylight to encourage them as they get closer to laying.
 DON’T FORGET TO VISIT
Winter is long and boring and cold…It was easy to spend time with your backyard flock when the sun was shining and the temperatures were glorious, but it’s a little harder to motivate yourself to get outside in the cold. Still, don’t forget about your feathered friends. Food and water will need to be checked daily, as their consumption can jump pretty dramatically in colder weather. Also, don’t be surprised to find ice in your waterer. Not only that, but your chickens will still want to see your smiling face, so bundle up and get out there!