WHAT IS A HAPPY PLANNER?
A few months ago I was wandering around Hobby Lobby and discovered the aisle displaying Happy Planners. Where have you been all my life, Luhva?? If you’re not familiar with Happy Planners, they’re one part planner, one part scrapbook and perfect for a Type A Creative like me. The pages are printed on sturdy stock and are colorful and sprinkled throughout with decorative touches. The plastic rings that hold the binders together are grooved for easy adding and removal of pages.
LOTS OF OPTIONS

There are many different options when it comes to Happy Planners with varying sizes, styles, themes, etc. You’re probably not surprised to know that I spent months obsessively thinking about purchasing a Happy Planner and researching how they are typically used by homeschooling moms. Teacher themed planners are available, but because I wanted to use my planner as more of an overall, lifestyle organizer, I finally decided on the 2018-2019 BIG Happy Planner – Enjoy All the Things, which could be easily customized for my purposes. I liked the color scheme, message and overall vibe of this one. I also grabbed a few key accessories like productivity and faith-themed sticker packs and some extra notes pages.
ONE DAY. THREE BOXES.
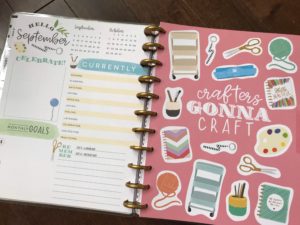
For a basic planner, each week is given a two-page spread and each day is divided into three large vertical boxes. When I first began to research Happy Planners, it seemed like a lot of people were initially thrown by the three box approach, but in time came to love it. I wasn’t sure how I wanted to utilize the boxes, or how to include appointments and reminders; let alone how to make the whole thing look pretty. My first few attempts to create a spread honestly didn’t go well. I didn’t really know where to begin! I was feeling pretty discouraged, but stepped away for a few days to give it a little more thought and research. (Seriously, I know it’s just a planner, but I wanted to get it “right.”)
I decided to divide my three daily boxes like this: the top box is for school-related and kids’ activities (ie: homeschool co-op, sports’ practices, etc), the second for adult appointments and schedule anomalies (ie: evening meetings for my husband, coffee dates for myself and a girlfriend, etc) and the third for our weekly menu.
TIME TO GET CREATIVE
Once I knew how I wanted to organize my planner, I explored some Happy Planner themed videos on YouTube created by people far more experienced than I. The following design progression seemed to be adopted by most users:
- First, create borders using washi tape (more about this below…)
- Second, add some fun stickers or other embellishments
- Third, fill in with writing
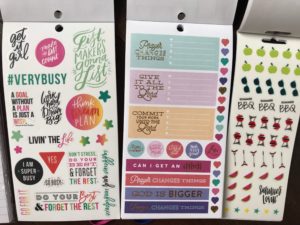
Some fun stickers.
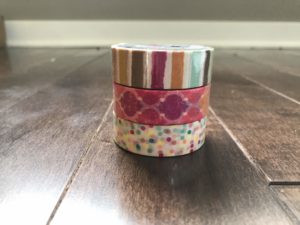
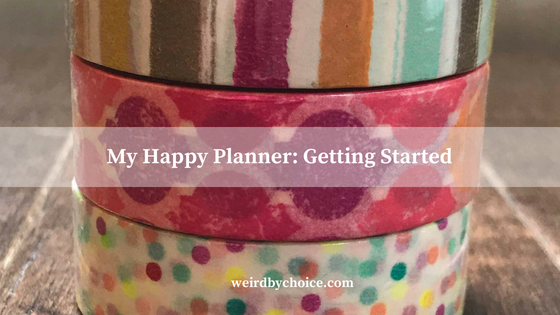
Washi tape. Have you heard of this stuff? It’s AMAZING! It’s basically just decorative masking tape that comes in a variety of widths and in bazillions of colors and designs. It can be used in many different creative pursuits, but when it comes to planners, it creates beautiful borders and areas of interest with very little effort. It’s pretty much guaranteed to make you feel better about the overall look of your page. I initially bought three rolls from Walmart, but see dozens more in my future! Also, according to the ladies I watched on YouTube, you can often find washi tape in the dollar section at Target, or at your favorite Dollar-type store.

So, after deciding how best to make use of the space and learning a few design basics, I was able to lay out a week that felt organized and useful. My goal is to maintain this planner throughout the school year and then evaluate whether I felt that this kept me feeling more on track and mentally in-control of my time. For someone prone to feeling overwhelmed like me, this Happy Planner could be a game-changer and a lot of fun to boot. Stay tuned.