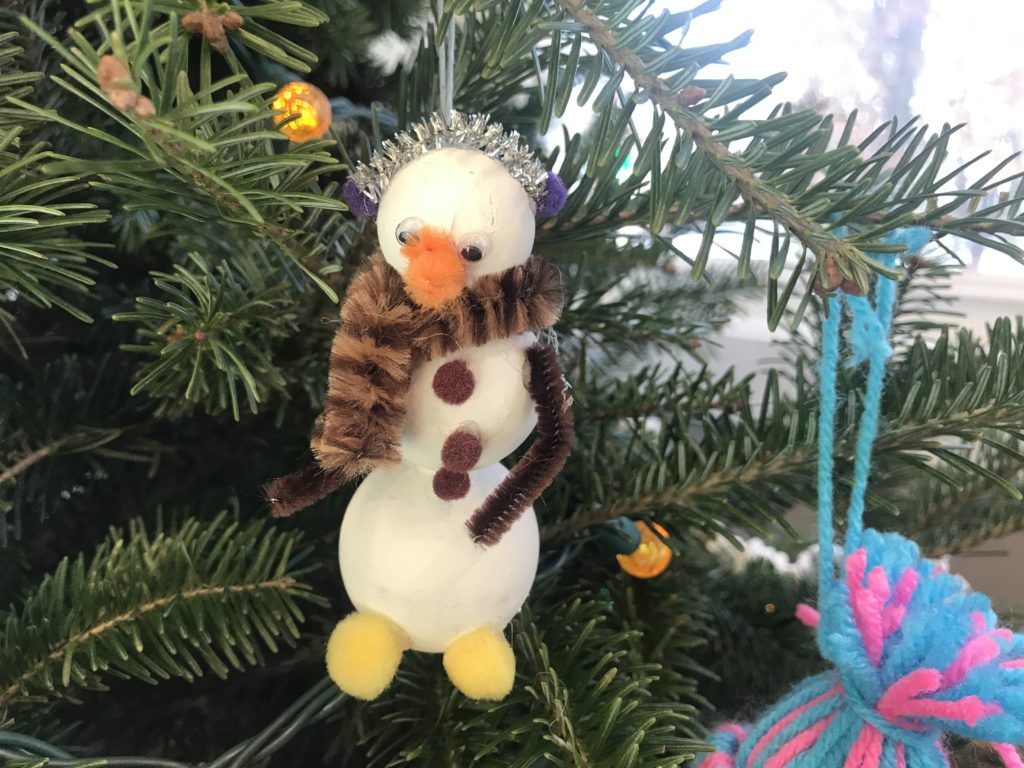
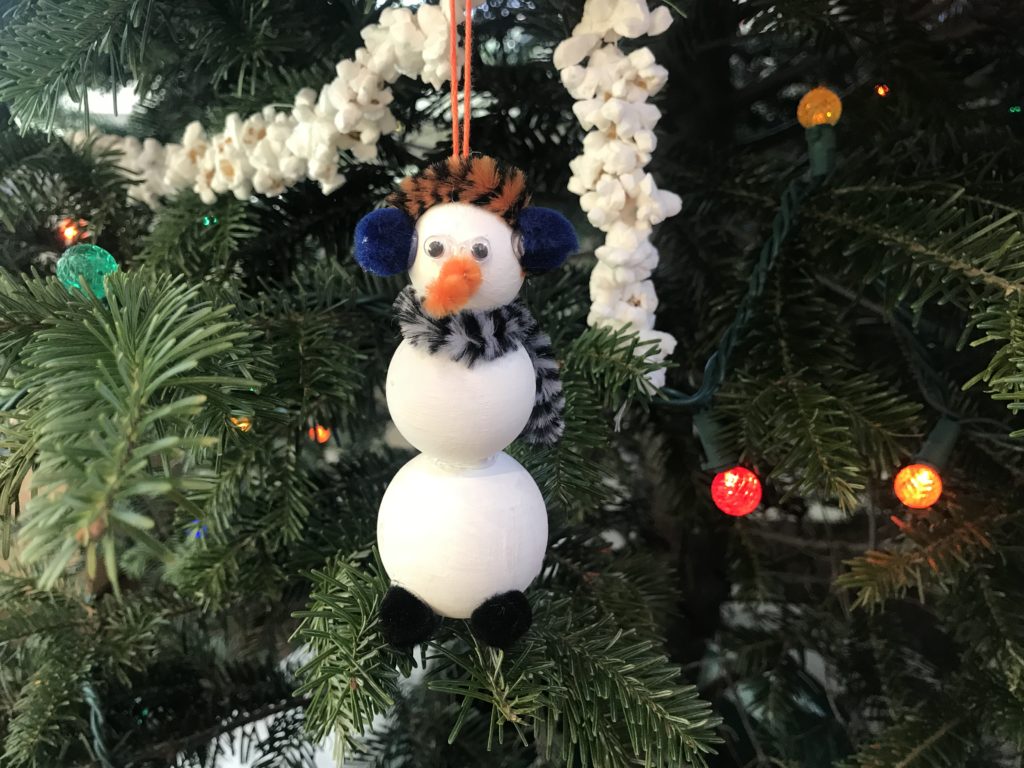
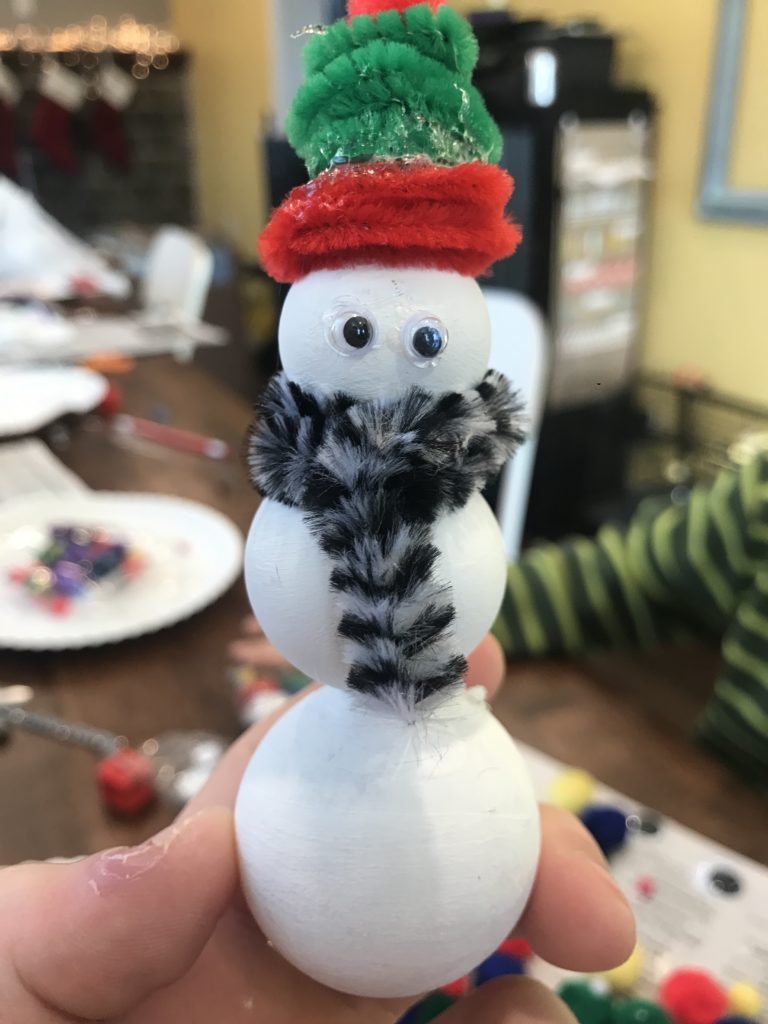
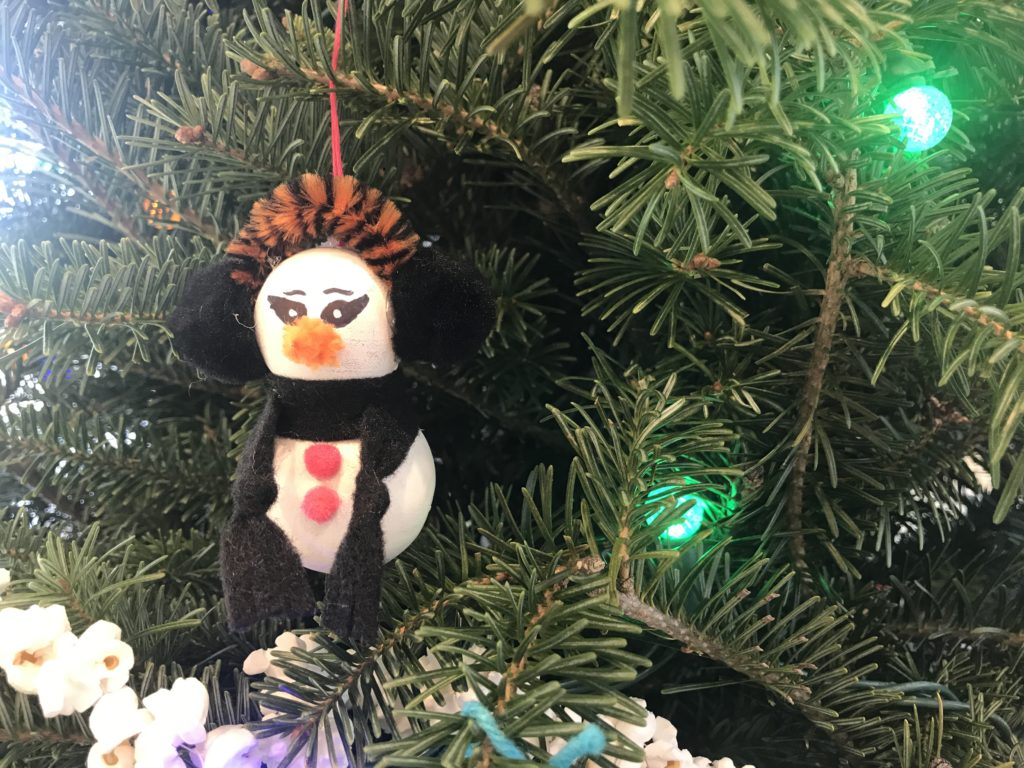
We’re continuing to craft our way through our first real Christmas tree! This week we busted out the serious crafting supplies like paint, glue gun and googly eyes to make these super cute wooden snowmen. These can be customized in countless ways and the base snowman is quick and simple to create.
WHAT YOU’LL NEED
Wooden craft balls: 1, 1.25 & 1.5 inch (We used ArtMinds brand from Michaels)
White acrylic paint
Paint brushes
Glue gun
Googly eyes
Pipe cleaners
Pom poms
Craft felt
Permanent markers
Embroidery floss
STEPS
1. Create snowman shape by using glue gun to stick two or three wooden balls together, largest on the bottom. Allow glue to set before painting. (Hot glue sets very quickly, so you only need to wait a minute or two. Pull any glue strings off of project before painting.)
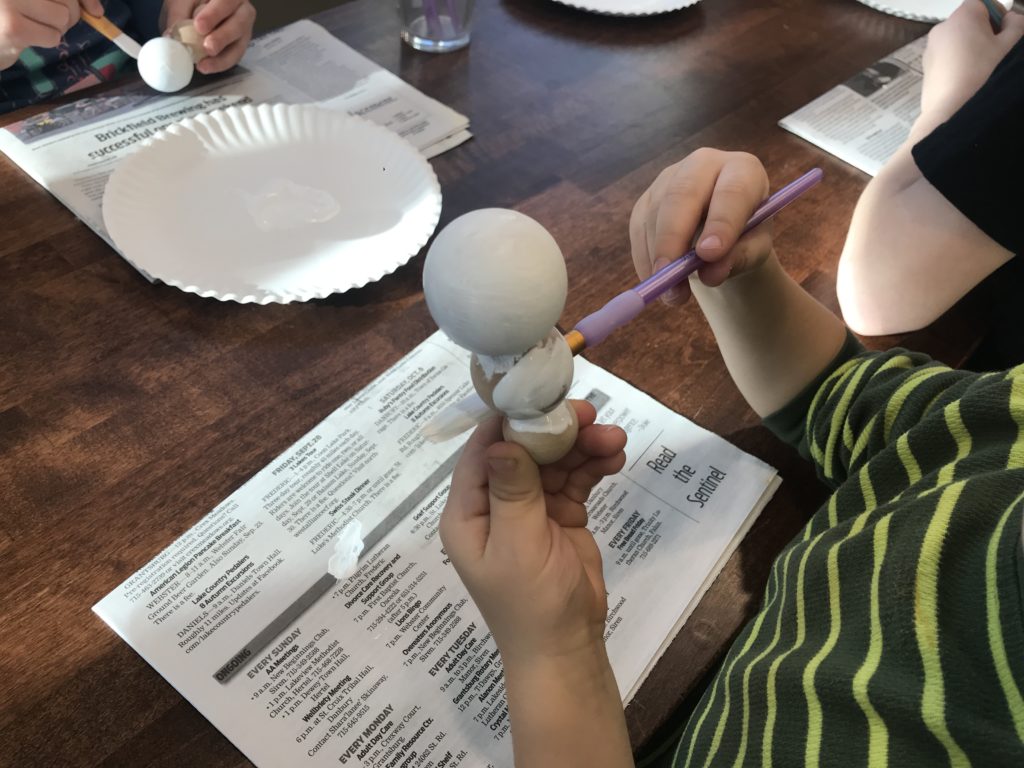
2. Use a small amount of white acrylic paint to make your snowman white. The less paint you use, the quicker it will dry and be ready for fun embellishments. (Ours dried within a few minutes, so even little crafters don’t have time to get bored. Keep everyone busy by choosing their embellishments for the coming steps.)
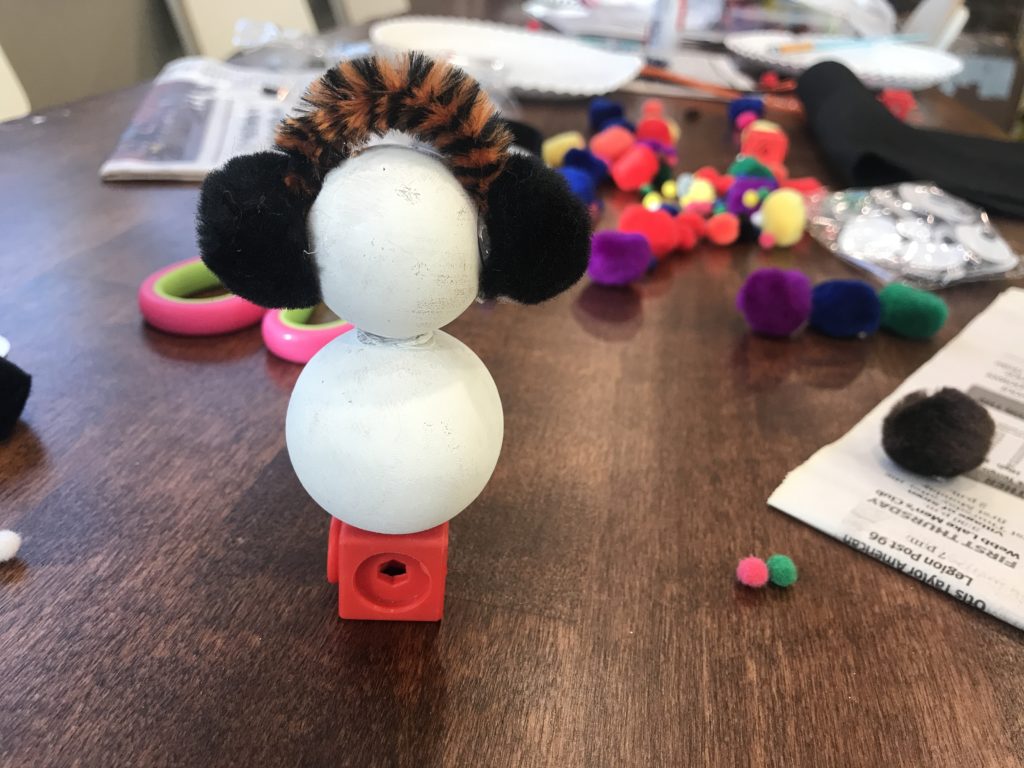
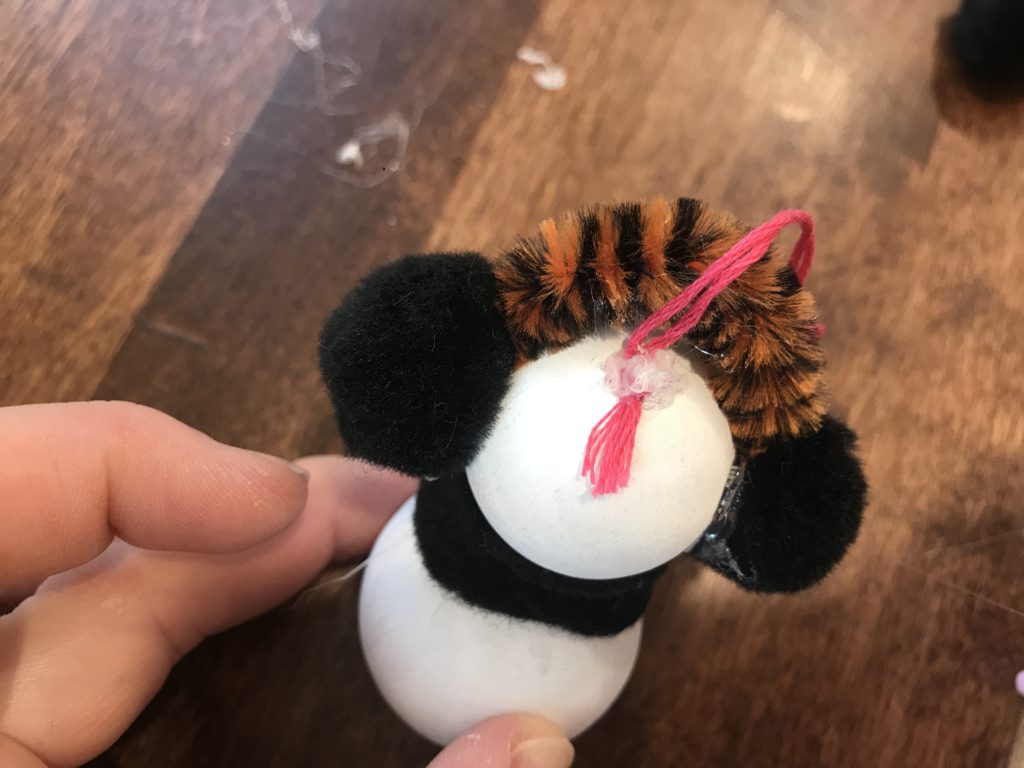
3. To create ear muffs, cut a small length or pipe cleaner (approximately 1.5 inches, but you can also just measure against your snowman’s head before cutting) and use a small dab of hot glue to secure each end to the side of the head.
4. Glue a pom pom to the end of each pipe cleaner, over the spot where you secured it to the snowman’s head to complete your ear muffs.
5. Give your snowman a scarf either by simply twisting a pipe cleaner around his neck or cut a narrow width of felt to create a scarf. In the sample below I cut a length of felt 9 inches long by about a one-half inch wide, tied a knot about an inch from each end, and then used a sharp scissors to trim little slits in the ends as tassels.

Knot ends 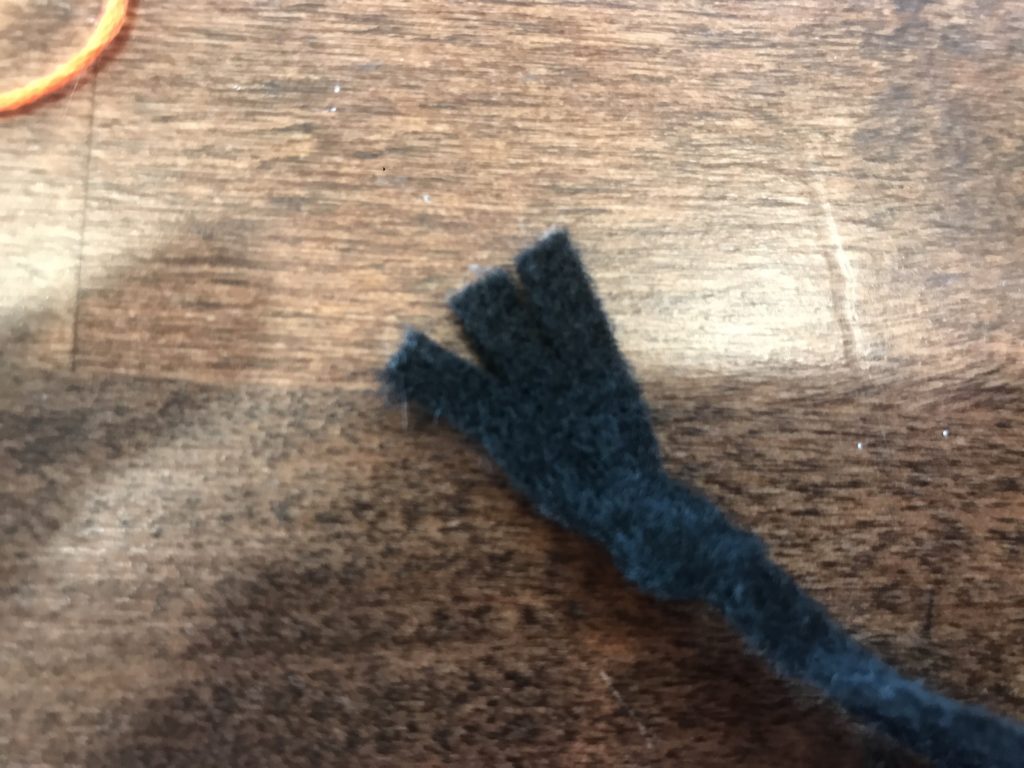
Cut slits below knot 
Wrap from back to front
6. Make eyes by either gluing googly eyes to the face or use a permanent marker to create eyes and add facial details like eyebrows and eyelashes.
7. To make a simple nose, curl an orange pipe cleaner into a tight coil and cut the end to your desired length (approximately one-half inch). Glue the coiled base to your snowman’s face.
8. Add additional pom poms to create buttons or boots, or cut additional lengths of pipe cleaners for arms.
9. To create a hanger, cut a length of embroidery floss about 6-8 inches, double over and tie a small, tight knot at the end.
10. Place the embroidery floss knot on the top or back of the snowman’s head and place a pea-sized dot of hot glue over the knot to secure it to the head.
And, there you have them! SNOW many possibilities with these! Are you making any fun decorations this year? I’d love to see! Post them in the comments below, or on my Facebook page.
